One of the server security is setting a time limit for WordPress/ PHP processes so-called Maximum Execution Time. This limit means that the PHP process will cancel after reaching the assumed time by the process. Unfortunately, in the case of complicated processes triggered by some WordPress plugins or even software updates, it turns out that the limits are set too low and the processes are not finished. The article covers how to increase the PHP max_execution_time parameter for higher script execution time in WordPress.
Contents
The PHP max execution time issue?
If in the dashboard or debug.log file you will see the message, after launching an update or other like this one:
Fatal error: Maximum execution time of 5 seconds exceeded in
Don't panic 😊 The problem can be frustrating, especially for less experienced WordPress users - but it is very easy to repair. Below is a way to deal with it.
How to increase the PHP max_execution_time limit for WordPress?
PHP time limit is important for WordPress so that it works properly. Look how to solve the WordPress max_execution_time problem.
How to change the PHP time limit for WordPress?
-
Open the .htaccess file
Connect to your FTP server using FileZilla, Total Commander, or another FTP client.
You can find the .htaccess file in the root directory of your site. This is the same directory where are located wp-content and wp-admin are located. -
Increase the max execution time
After opening the file, add the following line to it:
php_value max_execution_time 300 -
Update the .htaccess file
Save the file and make sure that the change has been made.
-
Check if that solved the issue
After you set the new PHP limit for max_execution_time, test if WordPress and plugins run smoothly.
The code above sets the value of the maximum execution time of the WordPress/ PHP process for 300 seconds. If the error still appears, try to simply increase the value, e.g. up to 600.
PHP Maximum Execution Time limit in WordPress: questions
What if there is no .htaccess in any directory?
If you have not found the .htaccess file, it may not have been generated by your website yet.
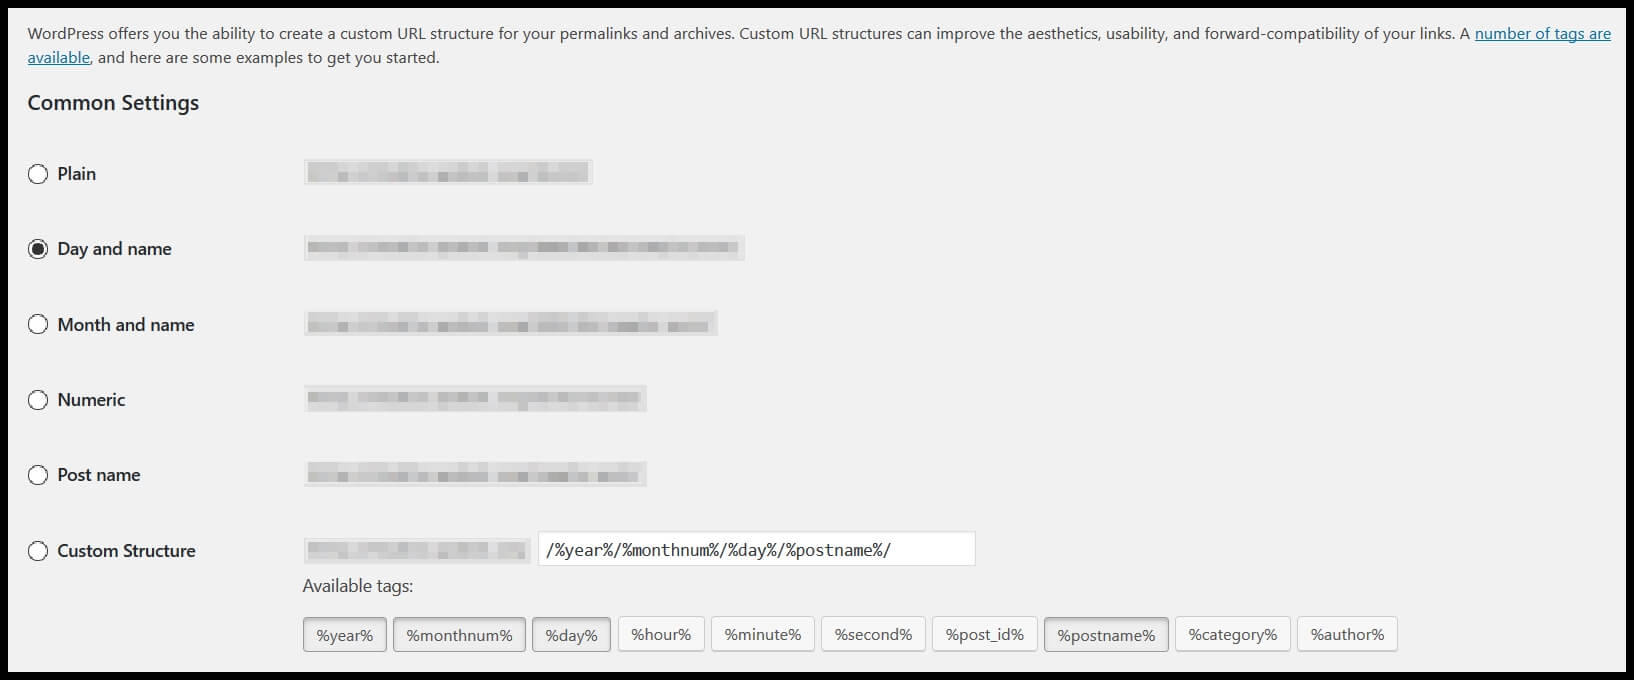
To create a file and make the change described above, go to Settings > Permalinks in your WordPress, then click Save Changes

After saving the settings WordPress will create a .htaccess, which you can modify according to the above instructions.
What should be the default settings for the max_execution_time limit?
You may start with 300 seconds. If that doesn't resolve the issue, try to increase the value. If the issue persists, take a look at the logs to see when the error occurs. Maybe there is a plugin or specific functionality. In that case, you may contact the plugin's authors to consult the issue.
WP Desk Plugins →
I am not confident in editing .htaccess. What then?
You may contact the hosting company to modify the PHP execution time limit for WordPress. Shared hosted servers may have their restrictions. You may also ask for server logs to check the website performance.
The hosting provider may improve other server parameters, update the PHP version, change the memory limit, edit php.ini, or restart the Apache server.
Is max_execution_time set to 30 low?
Usually, it is a low value. Especially, if you encounter fatal errors or PHP timeout for scripts. You may also check the WordPress memory limit and how to increase wp_memory_limit.
