Contents
Plugin settings
In the settings (after logging into the admin panel > Settings > Flexible Cookies) of the plugin, we have the possibility to select individual settings. You can move freely between the general settings, the appearance settings, the cookie categories or the cookie scanner.
General settings
Show cookie bar on page - this option is responsible for displaying the bar on the homepage. If you want the bar to be displayed when you enter the page, select the option.
Simple cookie bar - with this option, the visitor will only be shown information on the use of cookies, without the possibility to set their preferences.
Block cookies before accepting - enabling this option will block cookies from each category before the user selects options or changes preferences. The exception to this is categories marked as required. Cookies from these categories will not be blocked by this option.
Admin mode - If enabled, cookies will not be blocked for users with admin permissions.
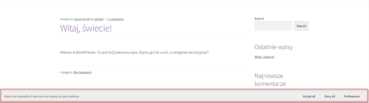
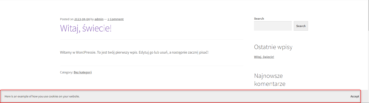
Title - Enter the title that will be displayed in the banner informing about the use of cookies on the site.
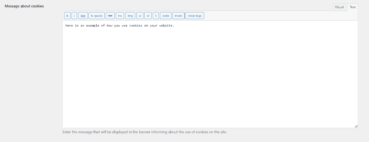
Message about cookies - allows you to define the message that displays on the page. You can edit it according to your preferences by formatting the code. You can, for example, add a link to the privacy policy or shop rules here.
Automatically accept cookies - when this option is ticked, we will see a box with a time to complete, after which the storing of cookies will be automatically accepted (the default is 5 seconds).
Automatically accept cookies on scroll - when checked, if the user starts scrolling the page - cookies will automatically be accepted.
Appearance
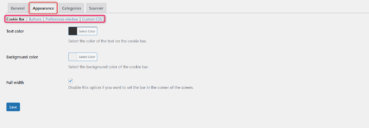
This is what the appearance settings window looks like.
Cookie bar - here you will find the settings for the cookie bar. You can change the text colour, the background colour and the width of the bar.
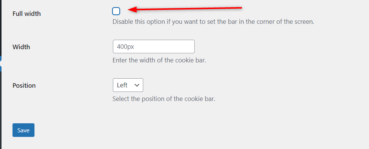
After unchecking the full width option, you have the option to define the appearance of the bar as below :
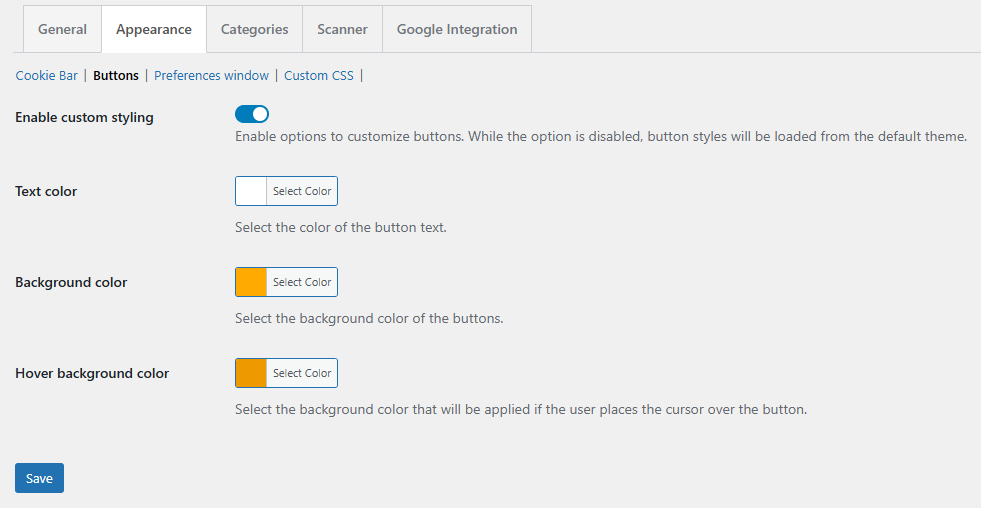
Buttons - here you will find the settings for the cookie buttons. You can change the text colour, the background colour and the background colour after hovering.
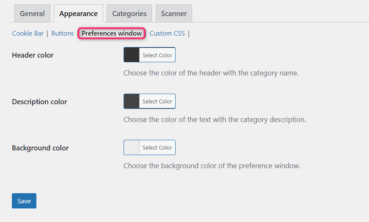
Preferences window - in this tab you can specify the colour scheme for the user's preference selection.
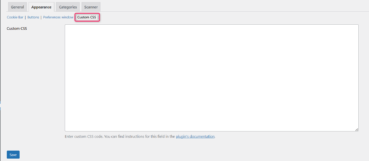
Custom CSS - in this field you can add your own style for the plug-in.
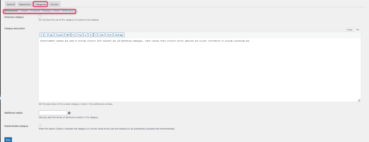
In this tab, you have the option to define :
- whether a category is required (except for essentials),
- Format the description to be displayed on the page,
- add your own cookies,
- enable or disable the category.
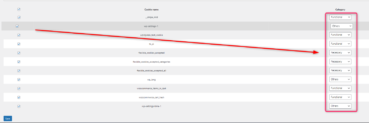
The "Cookie Scanner" tab will help you find the cookies present on your site and will tell you which category they can be assigned to. The content of the list is refreshed each time you navigate to the selected page in the preview. The list with found cookies consists of 3 columns:
- Checkbox column. Deselecting the checkbox will ensure that the assigned cookie is not stored in the categories.
- The name of the cookie.
- Category selection field for the cookie. The field suggests the category of the cookie by default if it is in the database of predefined cookies.
Once saved, the selected cookies will be placed in the corresponding categories under the "Cookies categories" tab.
Google Integration
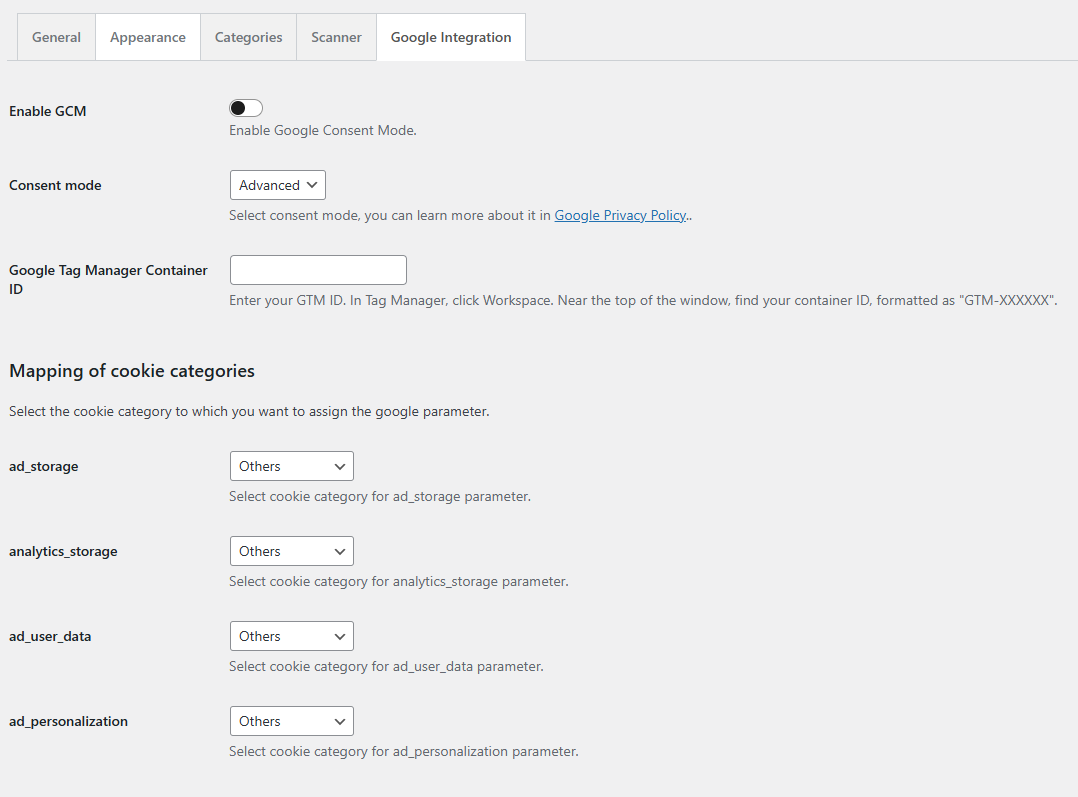
Enable GCM - toggle this switch to enable Google Consent Mode.
Consent Mode - select consent mode (Basic or Advanced), you can learn more about it in Google Privacy Policy.
Google Tag Manager Container ID - enter your GTM ID. In Tag Manager, click Workspace. Near the top of the window, find your container ID, formatted as "GTM-XXXXXX".
Select the cookie category to which you want to assign the google parameter.
ad_storage - select cookie category for ad_storage parameter.
analytics_storage - select cookie category for analytics_storage parameter.
ad_user_data - select cookie category for ad_user_data parameter.
ad_personalization - select cookie category for ad_personalization parameter.
Default consent values
Select default value for google parameter. This value will be used if the user has not interacted with the consent banner.
ad_storage - select default value for ad_storage parameter.
analytics_storage - select default value for analytics_storage parameter.
ad_user_data - select default value for ad_user_data parameter.
ad_personalization - select default value for ad_personalization parameter.
The Flexible Cookies plugin allows you to open the settings window using a dedicated button. You can add your own button anywhere on the page and assign it one of the following CSS classes:
- flexiblecookies_open_settings_button
- flexible-cookies-reopen-settings
Each of these classes allows the cookie settings window to be reopened, enabling users to change their cookie preferences at any time.
Identifiers of the settings window elements
The settings window and its background have the following identifiers:
- #flexiblecookies_settings_background – responsible for the dimmed and blurred background of the settings window.
- #flexiblecookies_settings_container – contains the actual cookie settings that the user can modify.
Thanks to these identifiers, it is possible to customize the appearance and behavior of the settings window using custom CSS styles or JavaScript scripts.
The Flexible Cookies plugin stores cookies accepted by the user for a period of 30 days. After this period, the cookies are automatically deleted.
